So you’ve been playing around with Ruby? You’ve become comfortable with the language, and have a strong grasp of basic Object-Oriented programming concepts. Well, it’s time to take the next step and build out your first web application. Jumping from pure Ruby into Ruby on Rails can be intimidating, and there are a lot of concepts that will be unclear at first. This is okay, and it’s perfectly okay to just dive in and explore the framework. I think you’ll find that Rails convention is surprisingly easy to grasp, and things will start to come together as you go. For the purpose of this guide, I’m assuming you already have proficient knowledge of ruby and your computer terminal/shell and Rails installed. I’m also assuming you use Git as a VCS. If you do not yet have Rails installed visit http://installrails.com/ and follow the steps there to properly install Rails on your machine.
The first step to starting any Rails project is creation, which is pretty straightforward. In your terminal, navigate to the folder you’d like to save your project in. From there type the following command:

The command to create a new rails project
Replace project_name with whatever you’d like it to be and voila! You’ll see your machine generating a whole bunch of files. This is Rails working it’s magic creating an entire directory setup for you. Thank you Rails!
If you know type of database you plan on using, testing tools you plan on running, or gems you plan on disabling, you can do so directly from the command line when generating your rails project.

Here’s another rails project being generated utilizing some extra options
The line above looks similar to the command above, but let’s break down what comes after. ‘-T’ tells rails we don’t want to use Minitest in our project. ‘-d’ is used to specify what database we will be using, in this case PostGreSQL. Finally, ‘ — skip-spring’ and ‘ — skip-turbolinks’ are telling us we want to disable both the ‘spring’ gem and ‘turbolinks’ gem.
Either option is totally fine for now, you should just be aware that configuring your project this way is possible.
Great! We’ve created our first project and are ready for the next step. Navigate into your project folder and type ‘git status’. You’ll see that Rails has already created a local git repository for you. Thank you Rails! Go ahead and make an initial commit. The next step is to go and create your remote repository. Visit GitHub, create a repo, and they will generate a command for you to add your remote repository to your project. It will look similar to this:

Command to add a remote repository
Then, push up to your remote repository.

Command to push up
Great, we’ve created our project and set up our project on GitHub. What’s next?
A good next step would be to set up gems we know we’ll want to use during development! Remember that last command for generating Rails? We removed Minitest! Let’s use RSpec instead. Open your Gemfile and scroll through it. You should see something like this:

This group handles your development and test gems. Go ahead and add the line ‘gem rspec-rails’ in there.

Now run bundle install in your terminal. Run RSpec in the terminal with ‘rspec’ and if you get a message with 0 examples, 0 failures, you’ve installed it correctly!
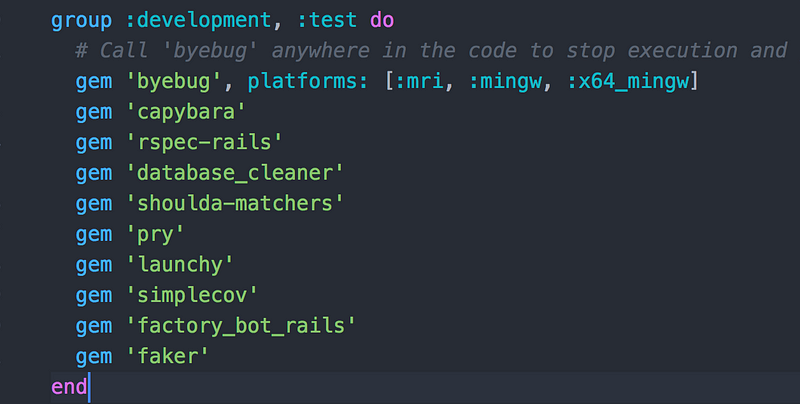
Here’s a list of some gems I used for my latest project at Turing School of Software and Design.
A brief summary of each:
capybara — Capybara helps you test web applications by simulating how a real user would interact with your app.
database_cleaner — Database Cleaner is a set of strategies for cleaning your database in Ruby.
shoulda-matchers — Shoulda Matchers provides RSpec- and Minitest-compatible one-liners that test common Rails functionality.
pry — Pry is a powerful alternative to the standard IRB shell for Ruby.
launchy — can be used to launch your application in your browser from a test
simplecov — SimpleCov is a code coverage analysis tool for Ruby
factory_bot_rails — Factory bot allows you to generate models for your tests.
faker — Faker generates fake data for testing purposes.
Okay so we’ve create our project directory and picked some gems, so what’s next? Well, I don’t have any idea of what you’re wishing to create, but all websites need a landing page, so let’s go there next!
First of all, for this part of the tutorial, you’re going to want to make sure you have the capybara, rspec, and launchy gems installed. Then, make sure to type ‘rails g rspec:install’ in your terminal to generate all the files you need for testing.
Now let’s write our first test!
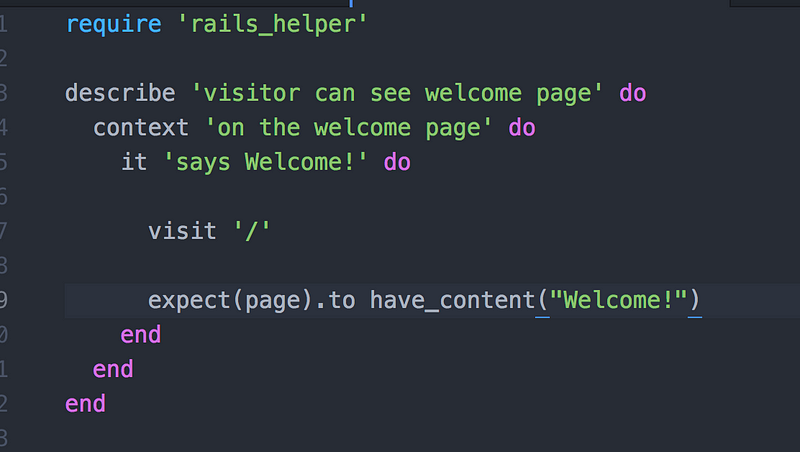
Look for the spec folder in your project directory, and go ahead and create a folder in there called ‘features’. In the ‘features’ folder, create a new file called ‘visitor_can_see_the_welcome_page_spec.rb’. At the top of this file, you want to require rails_helper. Then go ahead and write a simple test to visit a landing page and see “Welcome!” on the home page. If you’re not familiar with rpsec or capybara, this is what I came up with.
Cool, so we have our first test. Now let’s go ahead and run our tests. TDD FTW! We run rspec, AND…
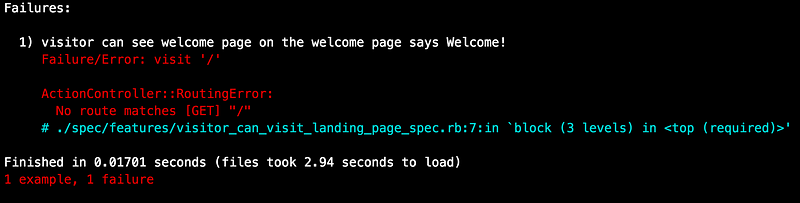
An error.. No, no this is good. This is what we want. So what does it say? No route matches [GET] “/”. Okay, so we need to open config/routes.rb in our project directory and add this route to that file.
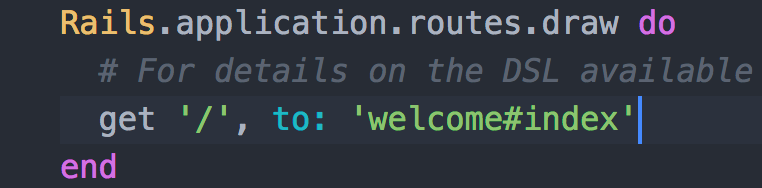
This line of code indicates when a browser saids a get request to that URI path, to route it to the welcome controller index function. Let’s run our test again.
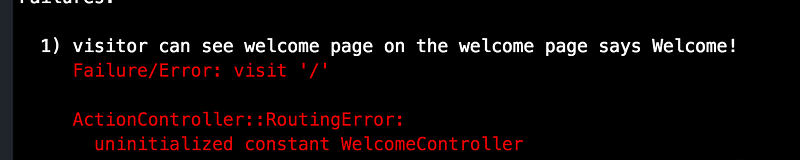
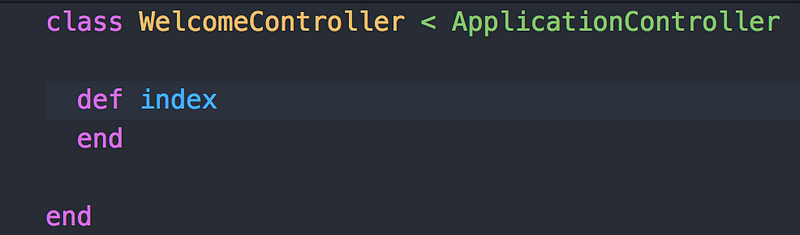
Okay, new error. Uninitialized constant WelcomeController. This mean we need to create a new controller. Let’s go to apps/controllers/ and create a new file called welcome_controller.rb. In that file let’s define our controller class like this:

Great. Now we run the test again and…
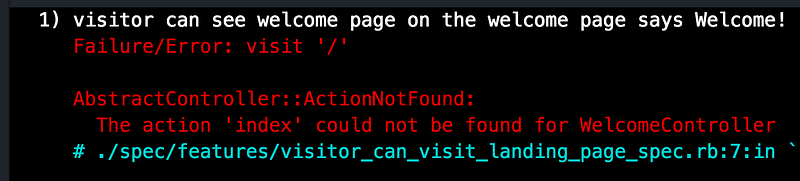
Now we need to define an index in our welcome controller.
Run the tests again…
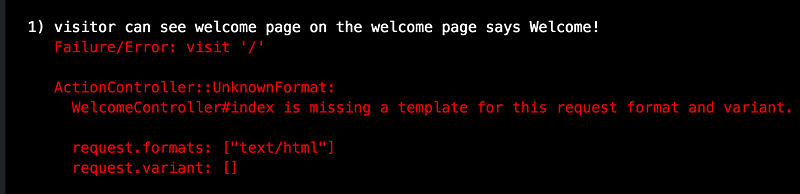
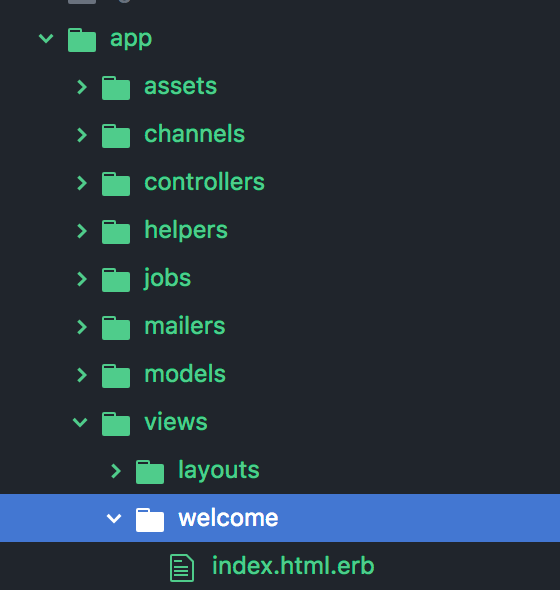
Another error. This error is telling us we don’t have any html to render on our webpage. Let’s go into our app/views folder and create a new folder called welcome. Within this welcome folder create a file named ‘index.html.erb’.
Run your test again and..

Almost passing! Let’s go into that file you just created and add the magic line.

Run Rspec again and all tests are passing! Amazing. One more thing. Go back into your test file and add the line save_and_open_page after visit ‘/’. Run rspec again and you’ll see your web page opened up in your browser. Nifty right?
That’s it folks! Hope this gives you a good start on your first project in rails. If you have any questions please reach out to me at dmeskis@gmail.com.
By Dylan Meskis on September 18, 2018.